How to Create an Automatic Table of Contents in Microsoft Word
Posted on 19th April by Admin
If you have ever spent an afternoon manually typing out page numbers for a table of contents, only to find they all shift when you add a paragraph to Chapter 2, you will understand why automatic tables of contents exist. Microsoft Word can generate, format and update a complete table of contents in seconds — but only if your document uses the correct heading styles. This is the part most guides skip over. The table of contents itself takes moments to insert — the preparation is what matters. Get your heading styles right from the start and the rest follows automatically. Get them wrong and no amount of fiddling with the TOC will produce a clean result.
This guide takes you through the whole process step by step — from applying heading styles correctly to inserting, updating and customising your table of contents for a dissertation, thesis or long report.
Quick Answer
To create an automatic table of contents in Word: (1) Apply Heading styles to your chapter and section titles. (2) Click where you want the TOC. (3) Go to References → Table of Contents → choose a style. Word generates the TOC automatically and it updates whenever you click Update Table.
Before You Start — Heading Styles
The automatic table of contents in Word works by reading your document’s heading styles. This means that before you insert a table of contents, you need to make sure your chapter titles and section headings are formatted using Word’s built-in Heading styles — not just manually formatted text made bold or large.
Here is how heading styles map to your document structure:
Word Style
Use For
Appears in TOC As
Heading 1
Chapter titles (Chapter 1, Chapter 2 etc.)
Top-level TOC entry
Heading 2
Main sections within chapters
Second-level TOC entry (indented)
Heading 3
Sub-sections
Third-level TOC entry (further indented)
To apply a heading style, select the text you want to format as a heading, then click the appropriate Heading style in the Styles gallery on the Home tab. If you want to change the appearance of the heading (font, size, colour), right-click the style in the gallery and select Modify — do not override the style manually, as this will break the TOC.
Step-by-Step: Creating the Table of Contents
Step 1 — Apply Heading Styles to All Chapter and Section Titles
Go through your document and apply Heading 1, Heading 2 and Heading 3 styles to all your chapter titles and section headings as described above. This is the most important step — the TOC can only be as accurate as the headings you have applied.
Step 2 — Position Your Cursor
Click at the point in your document where you want the table of contents to appear. In a dissertation, this is typically on a blank page after the abstract and before the main body — on its own page with the heading “Contents” or “Table of Contents” above it.
Step 3 — Insert the Table of Contents
Go to the References tab in the Word ribbon. Click Table of Contents on the left-hand side. A dropdown menu will appear with several built-in options. For most academic documents, Automatic Table 1 or Automatic Table 2 is appropriate — both generate a fully formatted TOC with page numbers linked to the headings in your document.
Step 4 — Review the Result
Word will insert the table of contents at your cursor position. Check that all your chapter titles and section headings appear correctly and that the page numbers are accurate. If any headings are missing, go back to that section and make sure the correct Heading style has been applied.
Need your dissertation formatted professionally? Our document formatting service handles your table of contents, page numbering, heading styles, margins and referencing style. Once your content is finalised, our professional proofreading service ensures it is error-free before submission — documents returned within 24 hours with a full money-back guarantee. Get an instant quote today.
How to Update Your Table of Contents
One of the greatest advantages of an automatic table of contents is that it updates itself. Whenever you add or remove content from your document, the page numbers in your TOC may change. To update them:
Click anywhere on the table of contents
A grey box will appear — click Update Table at the top of it
Choose either Update page numbers only (if you have only added or removed text) or Update entire table (if you have added, removed or renamed headings)
Click OK
Tip
Always update your table of contents immediately before submitting or printing your document. Even small edits can shift page numbers, and an inaccurate TOC creates a poor impression — particularly in a dissertation or thesis.
Customising Your Table of Contents
If the built-in styles do not match your university’s formatting requirements, you can customise your TOC. Go to References → Table of Contents → Custom Table of Contents. Here you can:
Change the number of heading levels shown (most dissertations use 2 or 3 levels)
Choose whether to show page numbers and whether they are right-aligned
Change the tab leader (the dots between the heading text and the page number)
Modify the styles used for each TOC level
Tips for Dissertation and Thesis Formatting
Check your university’s formatting guidelines. Some institutions specify the exact format for the table of contents — including font, spacing and whether section numbers should be included.
Use section breaks, not page breaks, for chapter starts. Section breaks give you more control over page numbering, headers and footers across different parts of your document.
Number your preliminary pages separately. Many universities require Roman numerals (i, ii, iii) for preliminary pages and Arabic numerals (1, 2, 3) for the main body. This requires different sections with different page number settings.
Do not include the Table of Contents page itself in the TOC. The TOC entry for the table of contents should not appear in the table of contents.
If formatting your dissertation correctly is causing you stress, our professional document formatting service handles the entire formatting process — including table of contents, page numbering, heading styles, margins and referencing style — so you can focus on your content. Our professional proofreading service ensures your content is polished and error-free for submission.
For deeper improvements to the writing itself, our copy editing service improves the clarity, flow and consistency of your dissertation content alongside the formatting.
Frequently Asked Questions
Why is my table of contents showing the wrong page numbers?
This usually happens because the TOC has not been updated after changes were made to the document. Click on the table of contents and select Update Table → Update entire table to refresh all entries and page numbers.
Why are some of my headings not appearing in the table of contents?
If a heading is not appearing in the TOC, it is almost certainly because the text has not been formatted using a Word Heading style. Select the missing heading and apply the appropriate Heading 1, Heading 2 or Heading 3 style from the Styles gallery on the Home tab, then update your TOC.
Can I have the table of contents on a separate page?
Yes. Place your cursor at the beginning of the TOC and insert a page break (Ctrl + Enter on Windows, Command + Return on Mac) before it. Then place your cursor at the end of the TOC and insert another page break to push subsequent content onto a new page.
How many levels should a dissertation table of contents show?
Most UK dissertations show two or three levels — Heading 1 (chapters), Heading 2 (main sections) and optionally Heading 3 (subsections). Including too many levels makes the TOC cluttered and hard to read. Check your university’s guidelines for the recommended number of levels.
Can I use a table of contents in Word on a Mac?
Yes. The process is essentially the same on Mac as on Windows. Apply Heading styles to your headings, then go to the References tab and click Table of Contents to insert and customise your TOC. The interface looks slightly different on Mac but the functionality is identical.
Should I have my dissertation proofread after formatting?
Yes — once your dissertation is fully formatted and finalised, having it professionally proofread is strongly recommended before submission. Our professional proofreading service checks every section for spelling, grammar and punctuation errors, ensuring your dissertation is polished and submission-ready. Documents are returned within 24 hours with a full money-back guarantee.
Summary
Apply Word’s built-in Heading styles (Heading 1, 2, 3) to all chapter and section titles before inserting a TOC
Insert via References → Table of Contents → choose a style
Update the TOC after any changes to your document using Update Table
Customise via Custom Table of Contents to match your university’s formatting requirements
Always update your TOC immediately before submitting your final document
Ready to get started? Submit your document today and our UK-based editors will handle your formatting, proofreading or copy editing with fast turnaround and a full money-back guarantee.
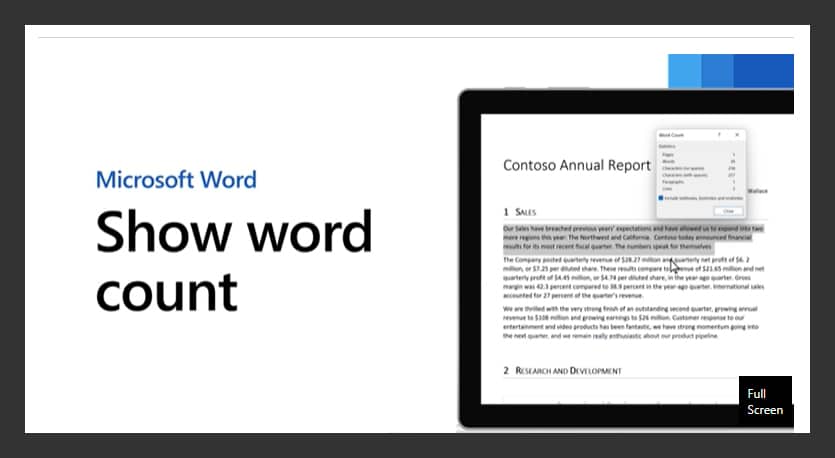
Learn how to check the word count with our simple guide. Ideal for students, writers, and professionals, this article explains easy steps to track your word count accurately, helping you meet assignment or project requirements in Microsoft Word.
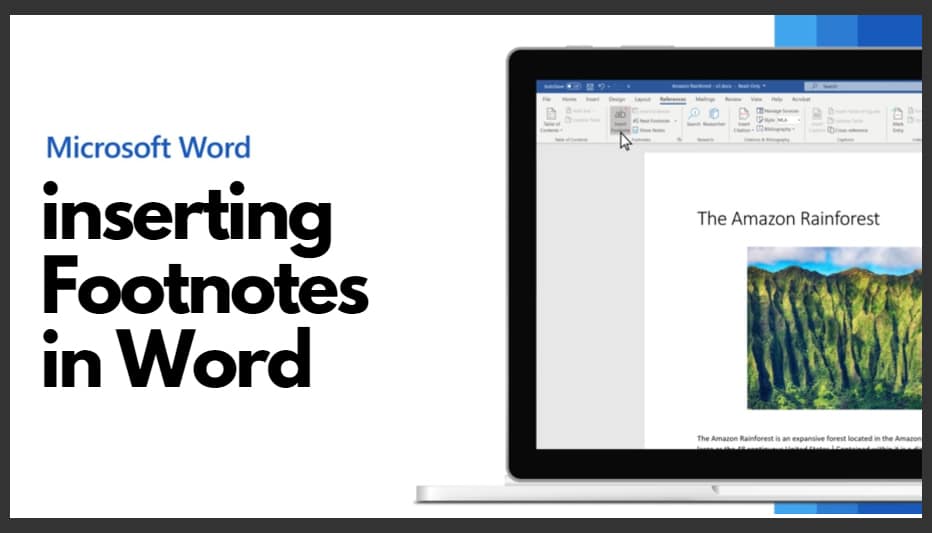
Learn how to create a footnote in Word with our step-by-step guide. Perfect for students and professionals, this blog explains how to add footnotes easily, helping you correctly reference sources and improve the presentation of your academic or professional writing.
Learn how to use styles in MS Word with this comprehensive guide. Discover how applying styles can improve document structure, consistency, and formatting efficiency. Perfect for students and professionals aiming to create professional, well-organised documents with ease in Microsoft Word.